


Hey there! Do you paint your DIY wooden puzzles with acrylic or simply want to maintain the beautiful colors they came with? Then we’d like to share a simple way to keep those colors vibrant.
Proper sealing is essential to ensure your painted wood stays bright and damage-free. A good sealant protects against moisture, scratches, and fading, keeping your designs looking fresh for years.
Why Seal Acrylic Paint on Wood?
Wood is a porous material, which means it can absorb moisture and allow the paint to chip or fade over time, not to mention warp those thinner pieces. A sealant creates a protective barrier, preventing damage from humidity, dust, and general wear and tear.
Sealing is even more crucial for durability and longevity if your piece will be exposed to the elements. Exposure to sunlight, rain, and temperature changes can quickly deteriorate paint if it’s not properly protected. Using a weatherproof sealer with UV resistance helps maintain your project’s color and prevents damage from the elements.
Let’s walk through the best methods for sealing acrylic paint on wood and achieving a professional, long-lasting finish.
Materials You’ll Need
Before you begin, gather the following supplies:
- Acrylic paint (already dried and fully cured)
- A clean, dry brush or sponge
- Polyurethane, polycrylic, or clear acrylic sealer
- Spray or brush-on sealer
- Fine-grit sandpaper (optional)
- Soft cloth or tack cloth
- Protective gloves and a well-ventilated workspace
Step-by-Step Guide to Sealing Acrylic Paint on Wood
Step 1: Let the Paint Fully Dry
- ✅ Do: Use thin coats
- ❎ Don’t: Apply thick layers at once
Acrylic paint dries quickly to the touch, but it needs at least 24 hours to fully cure. If you’re working on a thickly painted piece, allow up to 72 hours to ensure the paint is completely set before sealing. Applying the sealant too soon can trap moisture, leading to a tacky or uneven finish, reduced durability, or even peeling over time.
Step 2: Lightly Sand the Surface (Optional)

Because not everybody has a steady hand, your paint job might have rough patches. If you prefer not to have them, use fine-grit sandpaper (220-400 grit) to create a smooth surface. Gently sand in circular motions, then wipe away any dust with a soft cloth.
Step 3: Choose the Right Sealer
The type of sealer you choose depends on your project and desired finish:
- Polycrylic Sealer: Water-based, dries clear, and is ideal for indoor projects.
- Polyurethane Sealer: More durable and great for outdoor projects, but can yellow over time.
- Clear Acrylic Sealer: Easy to use, available in spray or brush-on formulas.
If you like to display your craft by a window, use a sealer specifically designed for exterior use. Exposure to sunlight will require using a UV-resistant polyurethane to protect the piece from harmful rays and weather damage.
Step 4: Apply the First Coat

- Spray-On Sealer: Hold the can about 8-12 inches away and apply an even coat in sweeping motions. Avoid over-spraying to prevent drips.
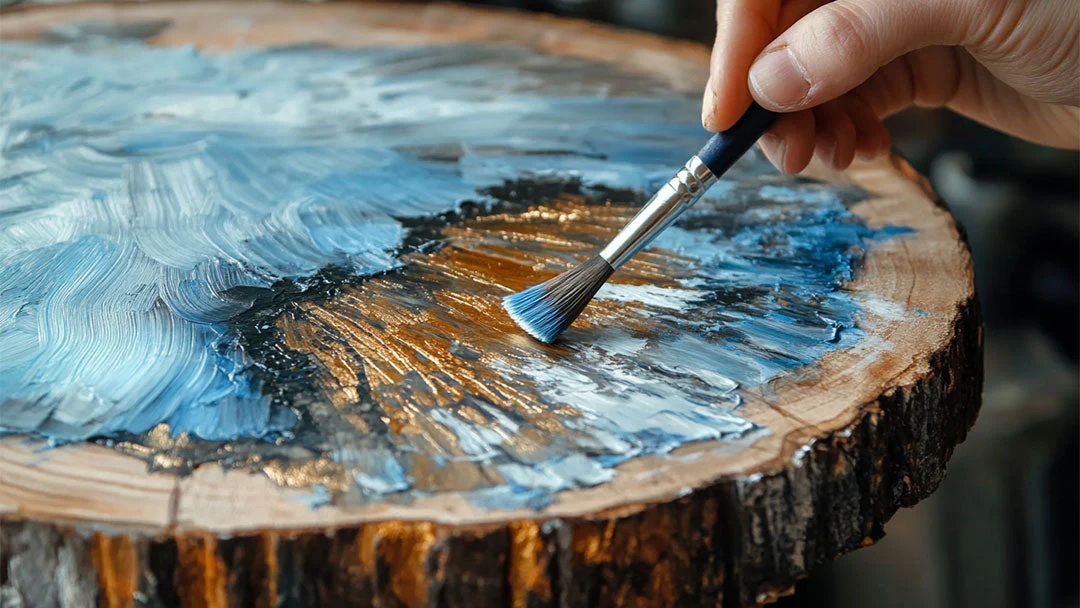
- Brush-On Sealer: Use a soft brush or sponge to apply a thin, even layer of sealer, following the wood grain.
Step 5: Let It Dry
Most sealers require 1-2 hours of drying time between coats. Check the label on your sealer for specific instructions.
Step 6: Apply Additional Coats
For the best protection, apply 2-3 coats, allowing each layer to dry fully before adding the next. This ensures a durable, even finish.
For outdoor projects, applying an extra coat of waterproof or weather-resistant sealer adds further protection.
Step 7: Final Cure Time
Once the final coat is applied, let the piece cure for 24-48 hours before handling or placing it in its final location.
Spray vs. Brush-On Sealers: Which One is Best?
Both spray and brush-on sealers have their own advantages, depending on the type of project you’re working on. Let’s look at them.
| Type of Sealers | Pros | Cons |
| Spray Sealer |
|
|
| Brush-On Sealer |
|
|
If you’re sealing a highly detailed project with small parts, a spray sealer might be your best bet. For flat, large surfaces or outdoor projects that need extra durability, a brush-on sealer will offer better protection.
Tips for the Best Results
Here are some tricks to success:
- Always test the sealer on a scrap piece of wood before applying it to your project.
- Work in a dust-free, well-ventilated area to avoid imperfections in the finish (and for you to avoid too much of that heady smell).
- If using a spray sealer, apply light coats instead of one heavy coat to prevent drips.
- Use a high-gloss sealant for a shiny look; for a matte finish, opt for a satin or matte sealer.
- For outdoor use, reapply the sealer periodically to maintain protection against the elements. Just wipe or brush off the dust first before spraying.
Touch-Up Tips
Even the best-sealed projects may need occasional touch-ups. If you notice small scratches or fading over time, lightly sand the affected area with fine-grit sandpaper and reapply a thin coat of acrylic paint. Let it dry completely before sealing again.
For minor scuffs, a clear acrylic spray can work wonders without needing a full recoat. Keeping extra sealer and matching paint on hand ensures your wooden masterpiece stays fresh and vibrant for years.
Seal the Deal
Sealing acrylic paint on wood is the key to maintaining the beauty and durability of your artwork. By following these simple steps, you’ll protect your painted creations from damage and ensure they remain vibrant for years.
Looking for more inspiring DIY projects? Check out more of Robotime’s collection of wooden puzzles. Just remember to reward your hard work by sealing it. It is, after all, the final touch that ensures your creativity lasts a lifetime.
Happy crafting!


Leave a comment
This site is protected by hCaptcha and the hCaptcha Privacy Policy and Terms of Service apply.