


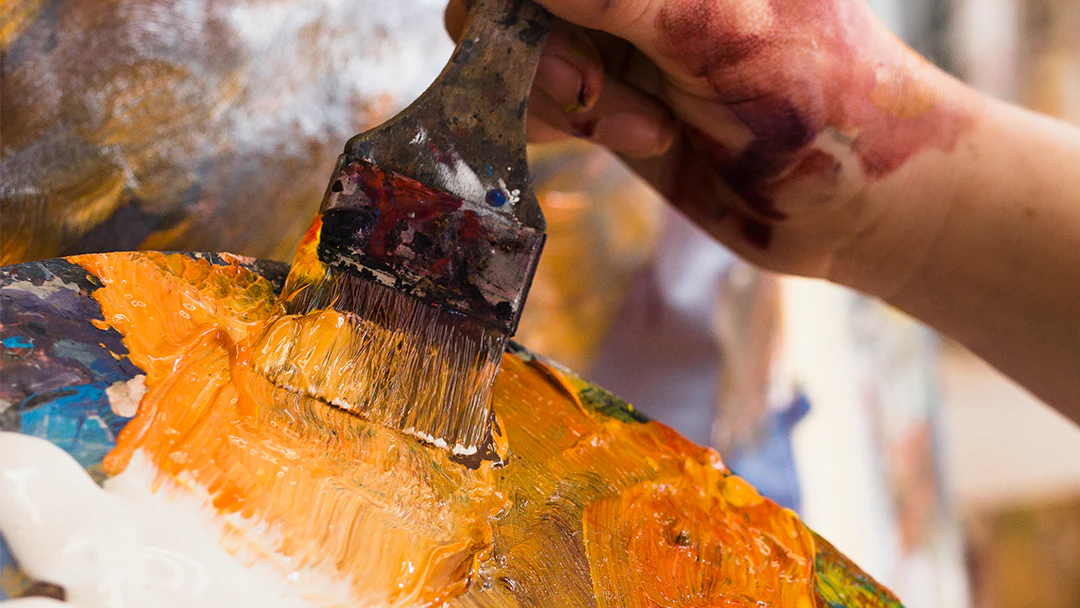
Er zijn verschillende manieren om een bepaald project te verbeteren of te verbeteren, zoals het graveren van patronen of het toevoegen van levendige kleuren door middel van verf. Als het gaat om metaalprojecten, is het het beste om een soort verf te overwegen die is gemaakt met chemicaliën die bestand zijn tegen en geschikt zijn voor metalen oppervlakken. Op deze manier kunnen sommige gevallen die de gladde oppervlakteafwerking kunnen ruïneren, worden vermeden, zoals afbladderen of het veroorzaken van blaren en schilfers.
Een van de meest voorkomende soorten verf die wordt gebruikt in metaalprojecten is acrylverf. Het is een verf op waterbasis met veerkracht en flexibiliteit om te worden gebruikt op verschillende oppervlakken, zoals metalen. Het heeft snel drogende en waterbestendige eigenschappen, die perfect zijn voor metalen meesterwerken. Het gebruik van acrylverf op metalen vereist echter kennis en diepgaand begrip van het stapsgewijze proces om het beste en langstdurende resultaat te bereiken. In dit artikel hebben we een uitgebreide gids uitgelicht over welke factoren u moet overwegen en welk proces u moet volgen.

Factoren om te overwegen bij het kiezen van de juiste acrylverf
Het toevoegen van een vleugje kleur of verf aan metalen projecten, zoals voor meubels of decoratie, is een goed idee om hun concept en imago te verbeteren. Maar het gebruik van acrylverf vereist dat u een idee heeft van de factoren die u moet overwegen voordat u begint met het aanbrengen van de verf op de metalen.
Kiezen tussen gewone verf of spuitverf
Het is het beste om te overwegen of uw project voldoende dekking nodig heeft, zodat u gewone acrylverf kunt gebruiken. Voor vlakke oppervlakken en grotere projecten is uw beste optie een spuitverf.
Acrylverf voor buiten- of binnenprojecten
Wordt uw project buiten of binnen tentoongesteld? Afhankelijk van de twee zijn er acrylverven met specifieke eigenschappen, bestendigheid en duurzaamheid. Wanneer u een metaalproject buiten uitvoert, kiest u voor een acrylverf die bestand is tegen elementen, zoals vocht en temperatuur.
Acryl afwerking
Er zijn ook verschillende soorten afwerkingen na het aanbrengen van acrylverf, zoals glanzende en matte afwerking. Het is het beste om te overwegen welk type afwerking het beste bij uw metaalprojecten past, zodat u de juiste acrylverf kunt kopen.
Hoe om te gaan met roest
Metalen zijn gevoelig voor roest, dus het is het beste om acrylverf te kiezen waar je op kunt vertrouwen. Er zijn ook acrylverven die kunnen werken met metalen projecten met een beetje roest erin als je iets met een metalen oppervlak probeert te recyclen.

Stappen voor het gebruik van acrylverf op metaal
Als u al besloten hebt om uw metaalproject kleurrijk te maken, vindt u hier een stapsgewijze handleiding voor het aanbrengen van acrylverf op metalen.
Stap 1: Bereid de materialen voor
Er zijn materialen die u moet verzamelen voordat u begint met het schilderen van een metalen oppervlak met behulp van acrylverf. Zorg ervoor dat u al de juiste acrylverf voor uw project hebt, en de rest van de benodigde materialen zijn als volgt:
- Water
- Inleiding
- Verfkwasten
- Draadborstel
- Dunner
- Schuurpapier
- Afdichtmiddel
Stap 2: Maak het oppervlak gereed
De volgende stap in het proces, wanneer u de materialen al bij u hebt, is het oppervlak klaarmaken voor het aanbrengen van de verf. Zorg ervoor dat het metalen oppervlak vrij is van vuil en andere onnodige lagen vuil. Als er roest rond het metalen oppervlak zit, kunt u een staalborstel gebruiken om deze te verwijderen. U kunt ook schuurpapier gebruiken om ervoor te zorgen dat het metaal glad is voor het aanbrengen van de verf. Het is het beste om de verfprocedure te starten met een schoon metalen oppervlak voor een gladdere toepassing.
Stap 3: Primer aanbrengen
Zodra het metalen oppervlak helemaal is uitgehard, kunt u beginnen met het aanbrengen van de primer. Twee lagen zijn al voldoende. Het belangrijkste doel van het aanbrengen van een primer voordat u acrylverf op een metalen oppervlak aanbrengt, is om meer hechting te bieden en te voorkomen dat er roest op het metaal ontstaat. Controleer ook voordat u naar de volgende stap gaat of de primer die u hebt aangebracht volledig is opgedroogd.
Stap 4: Begin met het aanbrengen van de acrylverf
Het is eindelijk tijd om de acrylverf aan te brengen. Als u overweegt om spuitverf te gebruiken, is het een veel gemakkelijkere en simpelere manier om het aan te brengen, omdat u alleen op het metalen deel hoeft te richten dat u wilt verven en op de spuitknop hoeft te drukken. Maar als u gewone verf wilt gebruiken, moet u de verschillende verfkwasten gebruiken die u hebt voorbereid. Wacht daarna tot de eerste laag volledig is opgedroogd voordat u een andere laag aanbrengt totdat u de gewenste kleur en afwerking hebt bereikt.
Stap 5: Dicht het oppervlak af
Nadat u de acrylverf op het metalen oppervlak hebt aangebracht, moet u een paar uur wachten tot de verf volledig is opgedroogd voordat u de volgende keer de sealant kunt aanbrengen. Het algemene doel van het sealen van het oppervlak met een sealantformule is om het geverfde oppervlak te beschermen en meer afwerking toe te voegen, van glanzend, semi-glanzend of mat. Het is de laatste stap bij het aanbrengen van acrylverf op metalen, en uw project is klaar om te beginnen.
Voor een gedetailleerde handleiding over het afdichten van acrylverf, vooral als u met kunststof oppervlakken werkt, kunt u ons artikel over ' Hoe sluit ik acrylverf op plastic af? ' Deze gids biedt waardevolle inzichten in het afdichtingsproces, zodat u ook bij het aanbrengen van afdichtingsmiddel op metalen oppervlakken de beste resultaten behaalt.
Samenvatting
Bij het maken van handgemaakte projecten is het ook een goede manier om ze kleurrijk en levendig te maken, vooral als ze bedoeld zijn voor buitendecoraties of binnenmeubilair. Maar het aanbrengen van acrylverf vereist een gedetailleerde stapsgewijze procedure en voorbereidingen. Als u van plan bent om uw oude gereedschapskist of muziekdoos op te fleuren door er wat verf aan toe te voegen, lees dan dit artikel om de gewenste metalen oppervlakteafwerking te bereiken. Zorg dat u uw materialen klaar heeft, koop de juiste acrylverf en maak u klaar om aan de slag te gaan met uw volgende metaalproject!
Laat een reactie achter
Deze site wordt beschermd door hCaptcha en het privacybeleid en de servicevoorwaarden van hCaptcha zijn van toepassing.